

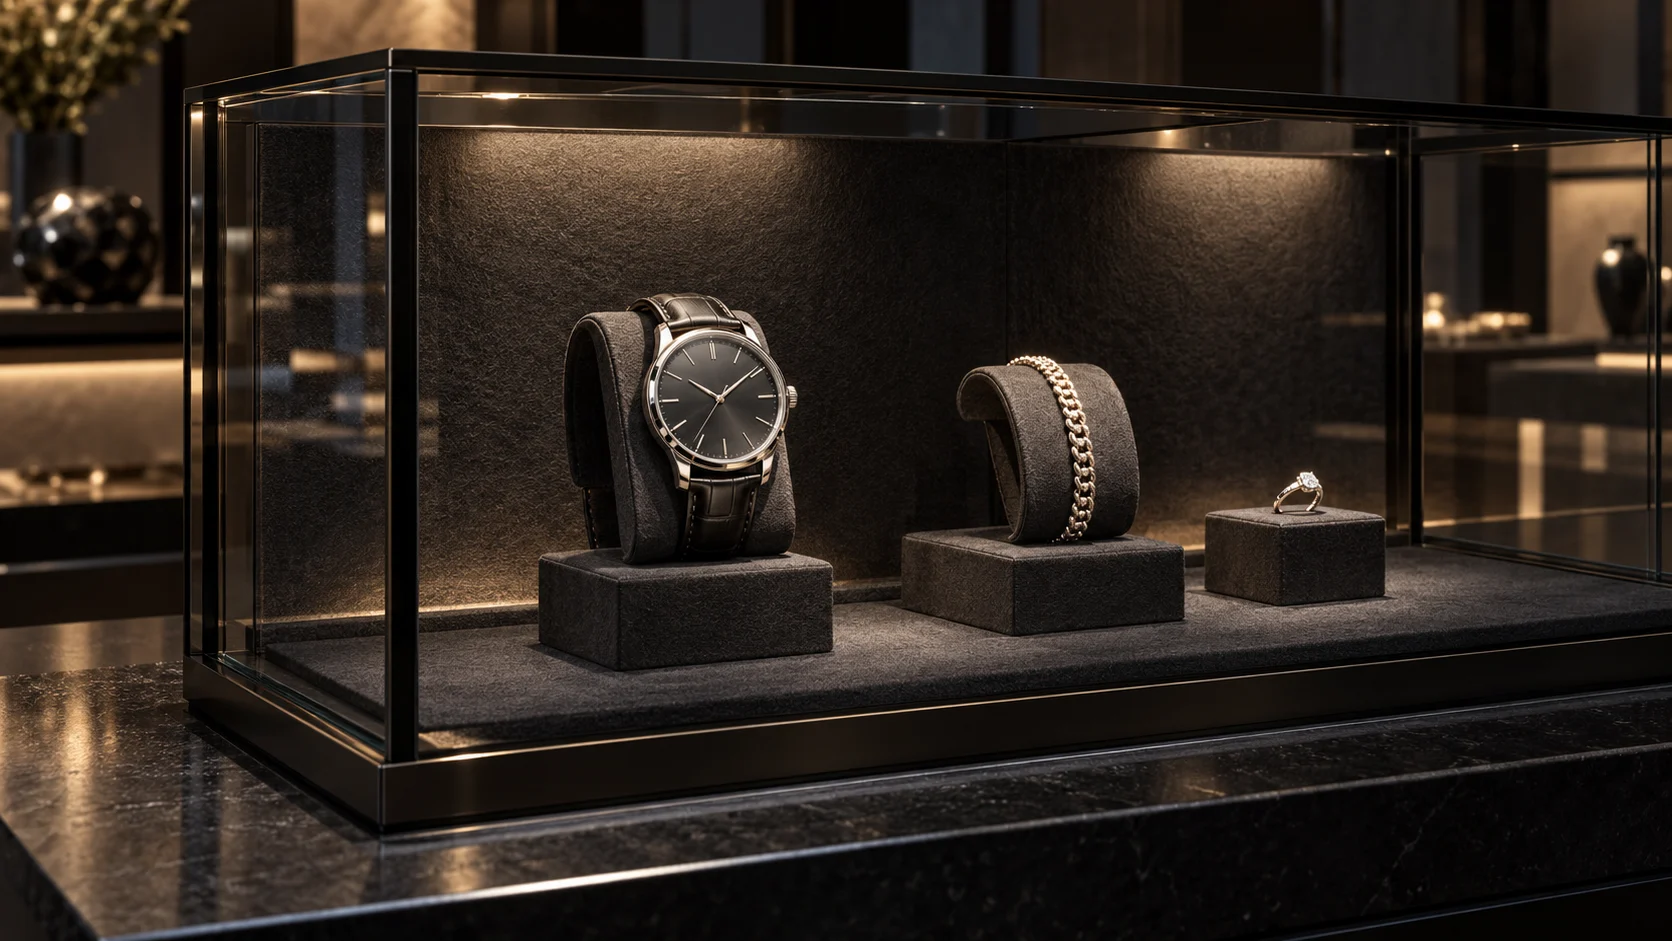
Black linings, dark supports and metal frames can create a restrained display setting. Once the lights are on, the products still need careful attention: does a dark watch strap merge into its support, can customers read the dial, and do jewelry highlights come with a clear sense of the item's shape?
Plan dark display case lighting around the products, supports and background together. Identify the outlines and details customers need to see, then review lighting direction, coverage and the background. This helps establish which issues call for a lighting adjustment and which may need a change in display materials or product placement.
1. Review the Actual Materials Before Defining “Dark”
A matte coating, velvet lining, leather-textured support and polished finish all need individual review, even when each is described as black. A color name does not specify gloss, texture or how a surface will look from the planned lighting and viewing positions. Place materials close to the final specification in a mockup to assess the lighting alongside the finishes.
The IES definition of reflectance explains that reflection needs to be understood alongside surface characteristics and the geometrical conditions of the light, among other factors. Applied to display-case review, this supports considering the material, incident light and viewing direction together. With a lining that reflects little light, observe how much reflected fill reaches nearby products rather than carrying over a lighting layout developed for a different cabinet material.
Include samples of the proposed back panel, base, supports and decorative frame. If the lining has a directional texture or nap, place it in the intended installation orientation. If the back consists of several faces, include a corner in the sample section. Check whether the surfaces remain distinguishable under the proposed lighting and identify highlights produced by the materials themselves.
When the fixtures need to coordinate with dark cabinet components, separately compare their housing color, gloss and visible outline. Housing color and light color are separate requirements. See jewelry showcase light finishes for that discussion. This article focuses on the relationship between product and background lighting; confirm available finishes for the particular model being considered.
2. Define Product Outlines, Details and Display Priorities
“The product is visible” can be broken down into specific viewing tasks. A clear outline helps customers distinguish the item from its support. Detail visibility concerns the dial, markings, clasp or material. Display priorities need to be assessed across the whole row of products.
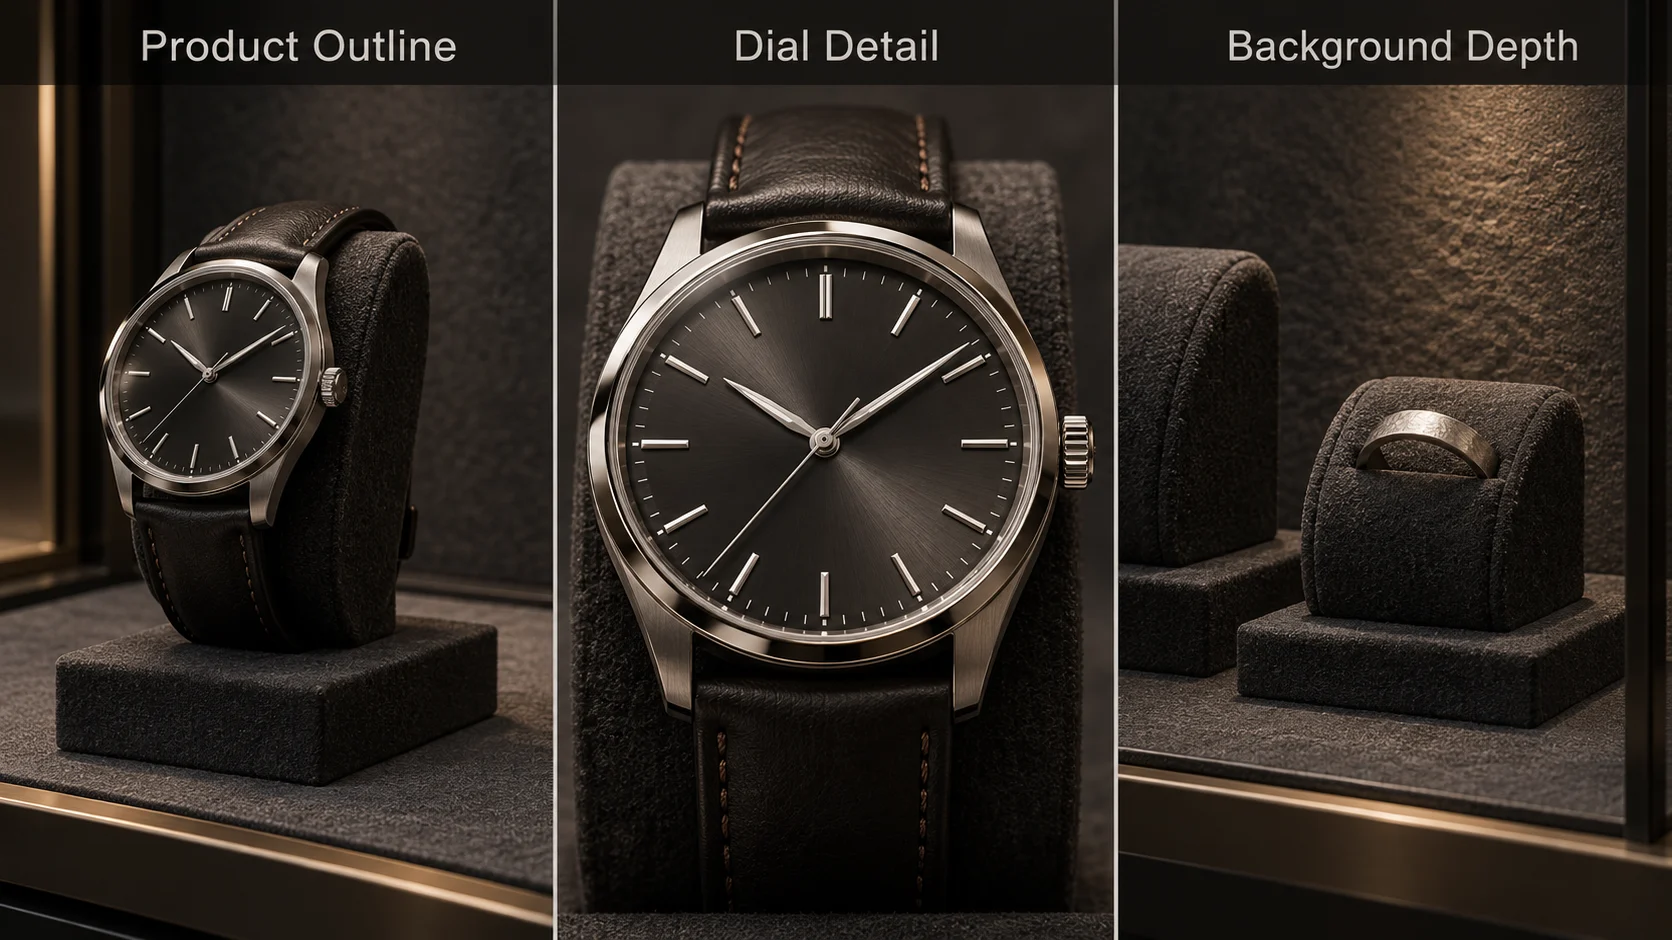
For example, place a watch with a dark strap in the mockup and inspect its case, strap edges and dial separately. When a highlight appears on the case, continue checking whether the strap blends into the support and whether a highlight obscures dial information. These observations help determine whether to change the lighting direction, add illumination to a particular area or discuss how the product differs from its support.
If the product and support are difficult to distinguish, compare alternative finishes or support tones within the display requirements. Product position and tilt can also be review variables. Where the cabinet structure allows it, compare the product's distance from the back panel. Review the adjusted arrangement alongside the original to check that the outline, important details and intended presentation are all addressed.
The same case may contain silver watch cases, light-colored labels or brighter decorative elements. Include them in the review and assess whether they attract attention as intended. A featured item, the regular display and price information can have different viewing tasks; define the lighting coverage around those tasks.
3. Give Accent and Supplementary Lighting Clear Tasks
Accent lighting can present a featured product's shape, material and details. After selecting a fixture position, check which surfaces receive light and which edges remain in shadow. Then decide whether illumination from another direction is needed. Supplementary lighting may provide general visibility across a row or address a local detail; defining its task helps determine the required coverage.
If the design needs background depth, specify what should remain visible: the junction between the back and base, relationships between supports or a particular lining texture. Discuss the extent and level of background illumination around those features. Where the intention is a restrained background, check how that choice affects recognition of the product outline.
See combined linear and accent lighting for jewelry showcases for a discussion of how those lighting tasks can work together. For a dark case, confirm their roles with the actual products and materials. Relate fixture distribution and position to the required coverage; the names “spotlight” and “linear light” alone do not establish the result.
If the proposed configuration allows separate operation of lighting groups, compare each group's contribution to product details and the background, then restore the intended combination. Check product recognition, distracting highlights and the agreed background depth. Before increasing the light level or adding fixtures, establish whether an unlit area results from an obstruction or the direction of the light.
4. Review Highlights, Glass Reflections and Source Visibility Together
Against a dark background, check whether bright points occupy an area where customers need to see the product. Identify direct views of a luminous fixture surface, a source reflected in the glass and highlights on a polished product separately. The approach in glass display lighting: reflections and viewing angles can help identify the source of interference.
For a watch, check whether a highlight obscures dial information while also reviewing the case and strap edges. For jewelry, look beyond the bright points to assess the outline and setting details. Highlights can express a material's character; review their relationship to the information customers need to recognize.
| Observation in the Mockup | Check First | Adjustments to Discuss |
|---|---|---|
| A dark product edge is difficult to distinguish from its support | Whether the product surface receives the required illumination and whether the product–support relationship is appropriate | Lighting direction, local fill, support material or product position |
| The watch case has a highlight, but dial information remains unclear | Highlights on the watch crystal, product orientation and coverage of the dial | Product tilt, fixture position or an appropriate optical configuration |
| The back panel is prominent, but the product lacks emphasis | Where accent and background illumination are directed | Their coverage, direction and permitted control settings |
| A bright line on the glass crosses the main product | The corresponding source, glass surface and customer viewing position | Fixture position, shielding and available mounting locations in the cabinet |
Change one main condition at a time, then compare from the same viewing position. Move left and right to check whether the interference returns to the product area. If a lighting adjustment resolves one bright point, also confirm that the other side of the product retains the details needed for viewing.
5. Confirm the Result with the Complete Display
Include representative dark and light products, approved supports, labels and background materials in the mockup, with the proposed glass in place. Review it under the store's expected surrounding lighting. Follow the customer's route as they approach, pause and look closely at the products. Include seated viewing positions where these form part of the project.
The IES definition of luminance distinguishes a measurable photometric quantity from the subjective impression of brightness and discusses the role of observation conditions in that impression. For a design review, this supports retaining the surrounding lighting and viewing context when assessing the complete case.
Compare the normal arrangement with a layout that could introduce an obstruction, such as a taller support or a featured product moved toward the edge. Check whether the original lighting tasks still suit the display, which fixture positions need adjustment space and which display changes require a new review.
Use photographs to document the views discussed. Keep camera positions and exposure settings comparable, and record the products, supports, lining, glass and lighting configuration. At the on-site review, record product outlines, details, priorities, background depth and interference locations separately. These notes provide a reference when materials or merchandise change later.
To discuss dark display case lighting with SEEPOSH, prepare a cabinet section, lining and support samples, representative products and the main viewing positions. Share these through the project contact page to discuss suitable configurations around product coverage, lighting direction and the overall display.
Domande frequenti
Does a dark display case always need higher-wattage fixtures?
Determine power requirements alongside product position, coverage, fixture distribution and actual materials. First establish whether an unclear area lacks illumination, is obstructed or blends into its support. Discuss the configuration around that finding. Lining color alone is insufficient for fixture selection.
Do dark products always need light-colored supports?
Compare supports together with the products, display requirements and lighting. Differences in tone, gloss or texture can all be variables in the mockup. Confirm the material after checking whether product outlines, key details and the overall display priorities meet the requirements.
Can accent spotlights alone suit a dark display case?
Check the actual display to determine whether the accent lighting addresses every required task. If product edges, labels or parts of the row remain unclear, discuss supplementary illumination or a display adjustment. Fixture quantity and the lighting combination depend on the specific issues observed.
Must the background receive no light to emphasize the products?
First define which background features need to remain visible. Some displays call for a restrained setting, while others need readable lining texture or relationships between supports. Review the background, product outlines and details in the same view, and confirm that the illuminated areas suit the display intent.


