

A museum object can be visible inside a glass case while important details remain difficult to inspect. A mount may cast a shadow, a reflection may cross the object, or the interpretive label may become harder to read from a lower viewing position. The lighting must also operate within the exhibition’s approved collection-care conditions.
Planning museum showcase lighting brings these requirements together: the object and its interpretation, the permitted lighting conditions, and the construction of the case. Fixture selection follows a brief that describes all three.
This guide is for exhibition designers, case manufacturers and project teams coordinating display lighting. It focuses on the information, viewing checks and sample records needed before a cabinet lighting configuration is confirmed.
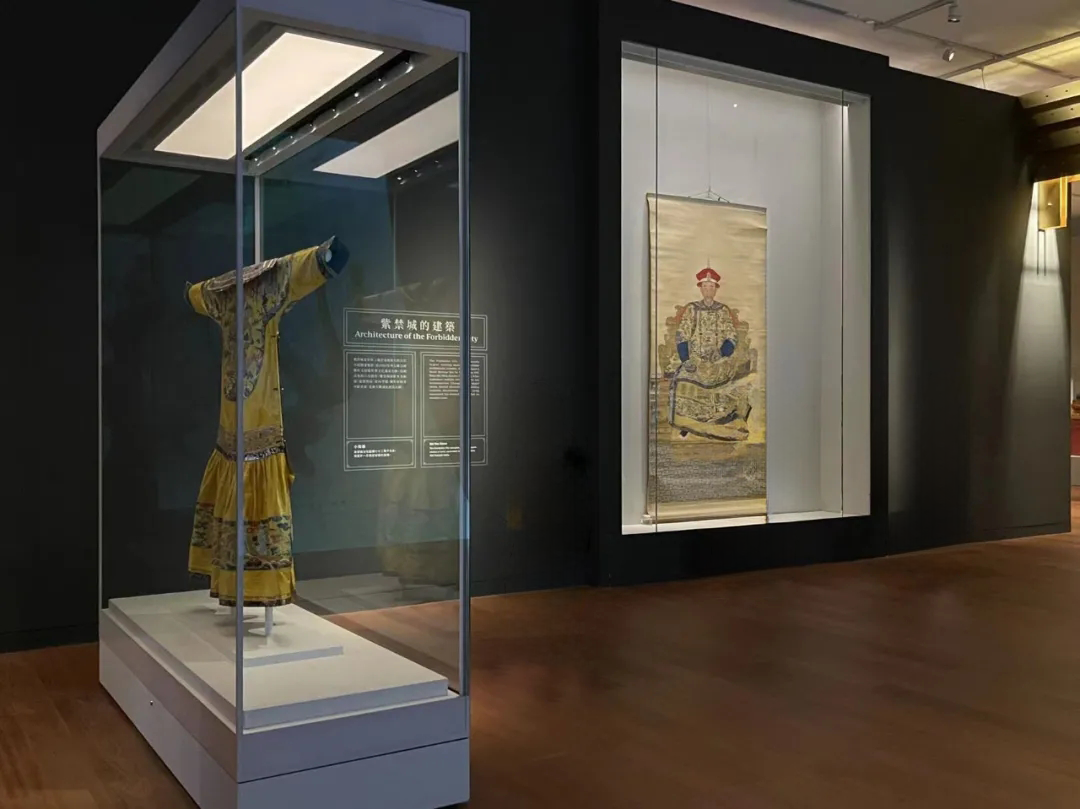
1. Describe the Objects, Mounts and Labels Together
Start with a case elevation and section showing the objects in their intended positions. Include display mounts, shelves, glazing, label panels and the surfaces from which visitors will inspect the exhibit.
Identify the details that support the exhibition’s interpretation: an inscription, a textile pattern, the outline of a vessel or the construction of an object. Mark the viewing direction for each detail rather than treating the empty case as the lighting target.
| Display element | Viewing task | Information to include in the lighting brief |
|---|---|---|
| A three-dimensional object on a mount | Recognize its form and inspect the intended details | Object orientation, mount supports, nearby objects and main viewing directions |
| A flat or inclined object | Inspect the displayed face without interference | Presentation angle, visible surface, surrounding finishes and glazing |
| An interpretive label | Read the text from the intended visitor positions | Label location, angle, finish and relationship to the object |
| A group of objects | Understand the grouping and inspect individual features | Relative heights, spacing, overlaps and the features requiring emphasis |
Agree on which parts of the arrangement can change during lighting development. Record any fixed positions or restrictions supplied by the exhibition and collection-care teams. This keeps fixture comparisons tied to the approved display.
2. Put Conservation Requirements into the Operating Brief
Ask the museum’s collection-care team to provide the applicable conditions for the objects, including loan or exhibition requirements. Establish who approves the lighting and what information the supplier and case manufacturer need to submit.
The Canadian Conservation Institute’s guidance on light exposure considers material sensitivity, illumination and display time together. Carry the museum’s approved conditions into the brief, including the intended exhibition schedule and operating hours.
For the project record, define:
- The object surfaces and measurement points to be checked, with their orientation.
- The approved lighting conditions and the method used to verify them.
- The exhibition dates, daily operating schedule and any proposed control functions.
- The surrounding gallery lighting and daylight conditions included in the review.
- The people responsible for approval, operation and subsequent checks.
The CCI’s LED lighting bulletin explains that LED technology still requires consideration of light damage. Include information about the proposed source when requested; a color-temperature or color-rendering figure alone does not establish the object’s protection conditions.
Use the approved brief when comparing fixtures and settings. Where several objects share a case, have the museum identify any different requirements before deciding how their lighting should be arranged or controlled.
3. Position Fixtures Around the Object and Visitor Views
Compare the light path to each intended target with the mounts and shelves in place. A fixture may illuminate the object’s upper surface while a support obscures an inscription or casts a shadow across a label.
Review the actual emitting surface, mounting position and proposed optical configuration. Include the available aiming movement where the selected fixture provides it. Our beam angle and mounting distance guide explains how to review coverage alongside the target and installation distance.
Check the object and label as separate viewing tasks, then review them together. A label adjustment may change the light it receives or the reflection it shows. Coordinate its location, finish and orientation with the exhibition designer within the approved arrangement.
Include visitor positions identified by the project team. The Smithsonian’s exhibition design guidelines call for considering case and label glare from both seated and standing positions. Mark those views on the sample review plan and inspect the relevant object details and text from each.
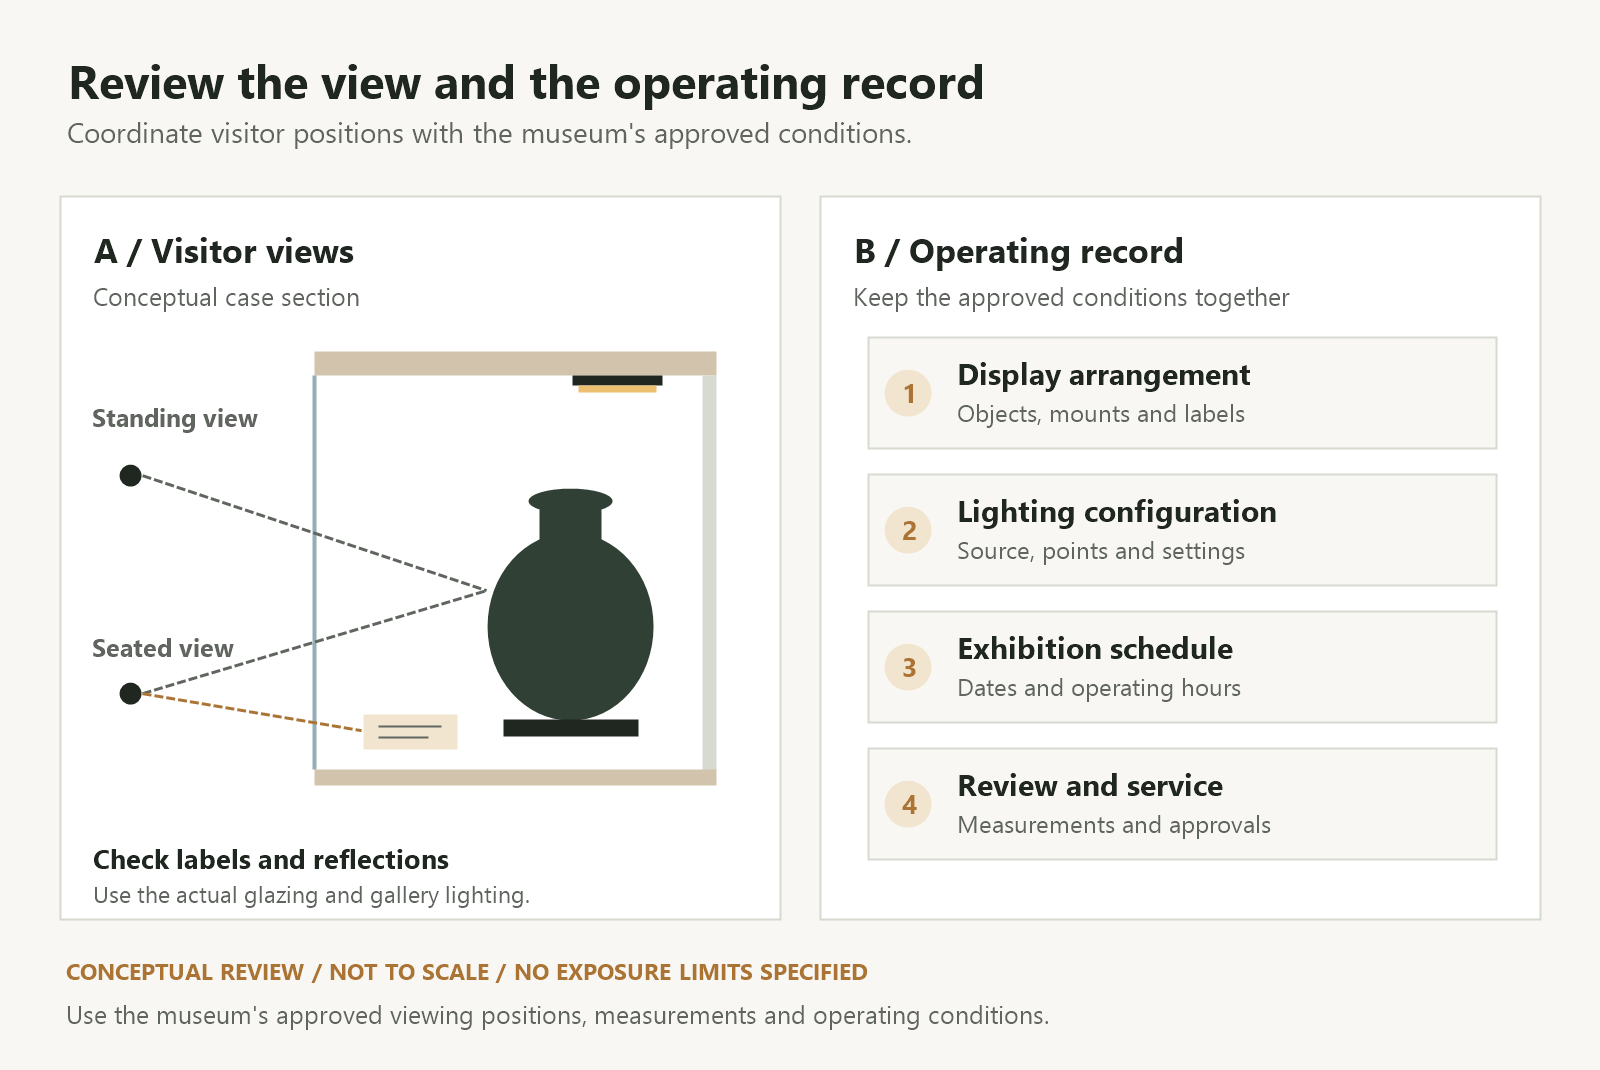
Compare the individual lighting tasks before deciding which fixtures operate together. Record the proposed mounting and aiming positions so the accepted arrangement can be reproduced during installation.
4. Review Glazing with the Gallery Lighting Operating
Install the intended glazing and close the case for the viewing review. Inspect the display along the visitor’s approach and at the positions used for closer observation.
Record three conditions separately: the emitting surface seen directly, its reflected image in the case glass, and reflections of gallery lights or windows. Also identify highlights on the object, its mount or label that interfere with the intended viewing task.
Compare changes one at a time while keeping the relevant viewing position and display arrangement recorded. A fixture adjustment that improves one view should be checked from the other planned visitor positions. Our glass display reflection guide provides a method for tracing the source of interference.
Include the agreed gallery lighting and daylight condition in the combined review. If those conditions vary during operation, identify the states the museum wants checked. Test proposed glazing, shielding and fixture-position changes on the representative case before accepting the detail.
5. Coordinate the Cabinet Environment and Service Route
Show the complete fixture housing, fixing components, cables, connectors and driver locations on the case drawings. A compact visible head can still need space behind the mounting surface and a practical removal route.
Coordinate these details with the case manufacturer and collection-care team, including any specified enclosure or environmental requirements. Confirm the permitted cable entries, component locations and openings before the case construction is fixed.
LED fixtures and their electronics generate heat; the CCI bulletin discusses heat from the complete lamp assembly. Review the selected configuration and its operating conditions with the case team, including any requested temperature checks.
Confirm fixture input requirements, the driver and connected load, and the specified control equipment. Define the required functions, such as scheduled operation or adjustment of a lighting group, then check what the proposed configuration supports. Our showcase dimming compatibility guide explains the equipment information needed for that review.
Agree on how a fixture, connector or driver can be accessed through the planned service route, and who carries out that work. Include the handling sequence and any collection-care requirements associated with opening or servicing the case.
6. Approve the Sample and Retain an Operating Record
Build a representative case section using the intended glazing, finishes, mounts and labels. Use objects or representative materials authorized by the museum for the review. Record where a substitute differs from the final exhibit and what remains to be checked before opening.
Review the sample in this order:
- Object and label visibility: inspect the identified details and text from the approved viewing positions.
- Reflections: check direct source visibility and reflected images with the agreed gallery lighting operating.
- Lighting conditions: take the requested measurements at the approved points, recording the fixture settings and surrounding lighting state.
- Operating functions: check the specified switching, scheduling or dimming behavior using the actual driver and control combination.
- Installation and service: confirm the mounting, cable entries, component access and agreed servicing sequence.
Keep the accepted drawing revision, object arrangement, fixture configuration, aiming positions, control settings, measurement records and photographs together. Identify the exhibition schedule and the people responsible for operating and reviewing the installation.
When an object, mount, label, fixture or operating schedule changes, submit the affected conditions for review against that record. Include the component identification needed for later maintenance and replacement discussions.
For a museum showcase lighting proposal, send SEEPOSH the case drawings, authorized object and mount information, visitor views, collection-care requirements and power/control brief. These inputs support a configuration discussion through our customization process.
To discuss the project, contact SEEPOSH with the case details and approved display conditions. Confirm the available fixture construction and capabilities against the selected configuration and representative sample.
Frequently Asked Questions
Is LED lighting automatically suitable for every museum object?
The museum needs to approve the actual source, lighting conditions and display schedule for the objects. Include the proposed configuration in that review and retain the agreed operating settings and verification records.
Can one illuminance target be used for a mixed display?
Have the collection-care team define the requirements for the objects sharing the case. Use those requirements to plan the lighting arrangement, control functions and measurement points, then verify the complete display under the approved operating conditions.
Does anti-reflective glazing remove the need for a viewing test?
Inspect the selected glazing with the actual object arrangement and gallery lighting, including the planned seated and standing views. Check the remaining reflections and label visibility before accepting the case detail.
What should be reviewed when the exhibit changes?
Review the object and mount positions, labels, lighting requirements, exhibition schedule and visitor views. Check the affected fixture settings and measurements against the approved record, then document the updated arrangement and approval.


