

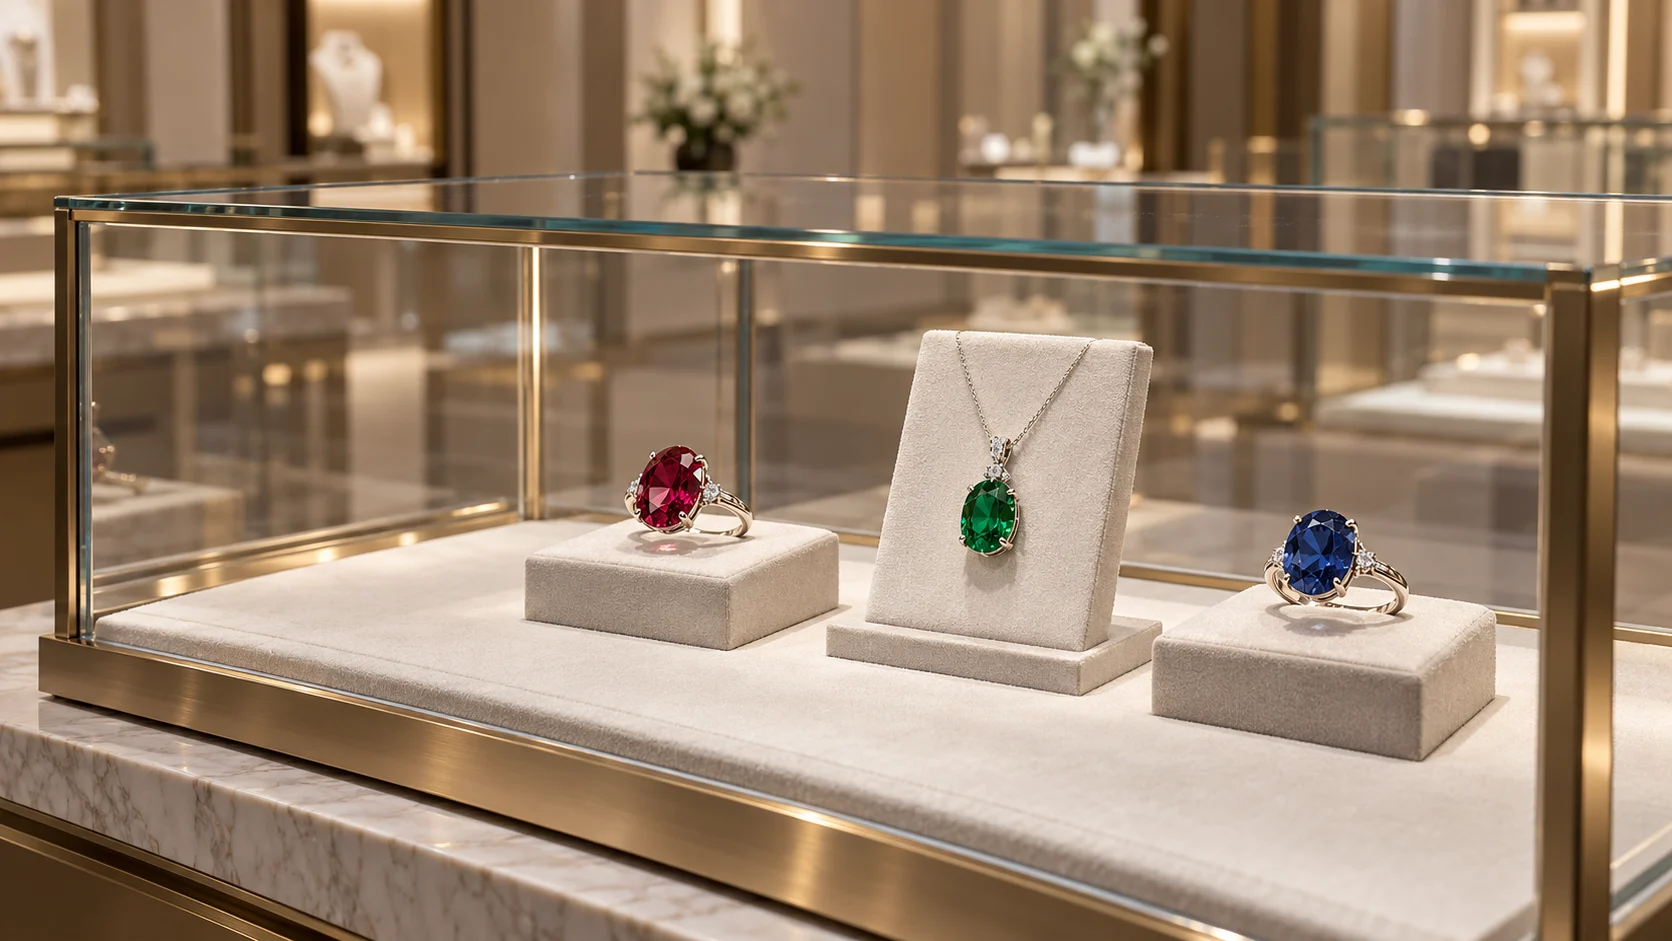
A colored gemstone ring may combine a colored center stone, smaller accent stones and polished metal. Once the lights are on, review each part: is the center stone's color easy to recognize, do its facets show light and dark patterns, and are the prongs and ring shank clearly visible? When other colors and jewelry forms share the case, the lighting also needs to be assessed across the complete group.
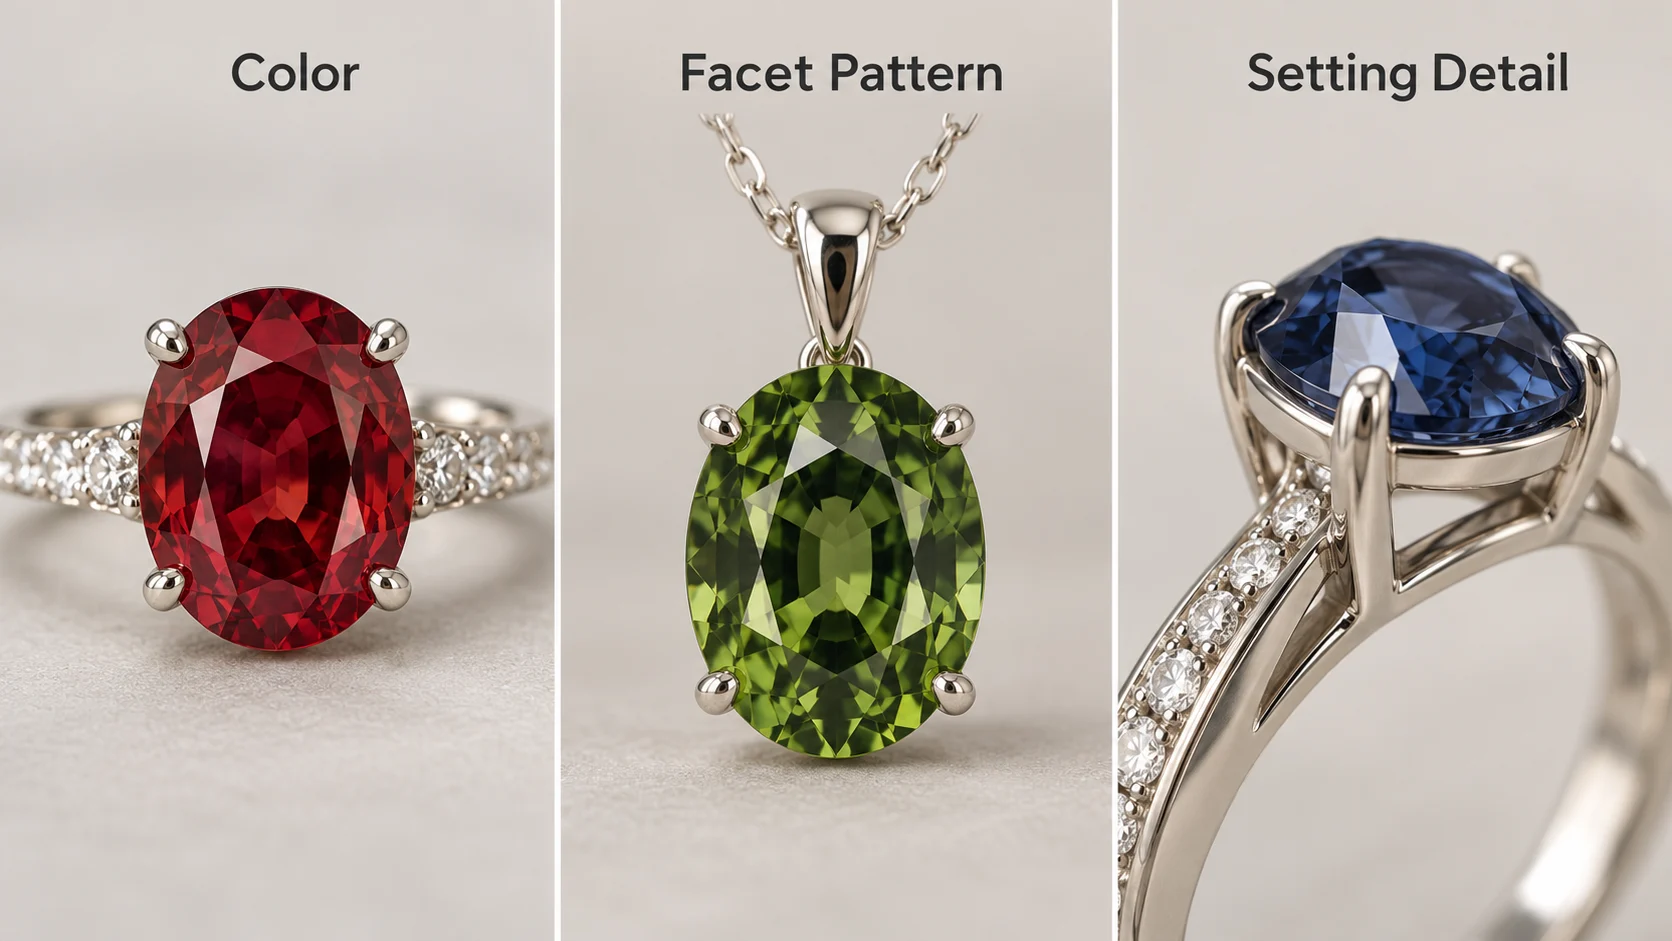
Plan colored gemstone display lighting around three viewing tasks: color, facet appearance and setting details. Then compare candidate light sources and lighting directions. This establishes how the featured piece should be presented while checking that the surrounding merchandise receives suitable illumination. For the broader preparation of case dimensions, power and fixture types, see the jewelry showcase lighting specification checklist.
1. Define Viewing Tasks with a Representative Group of Jewelry
The mockup should represent the intended display. Include jewelry in different colors, lighter and darker stones, different cuts and settings with different metal finishes. Select pieces using the actual merchandise and information supplied by the jeweler.
Review the parts of an individual ring separately. Start with the center stone's overall color, then examine light and dark areas across its facets, followed by the prongs, bezel, accent stones and shank. If the display includes pendants or earrings, place them in their intended orientation. Their viewing conditions need to be assessed alongside those of the rings.
Make the display intent specific. Should customers first notice the center stone's color or the shape of the complete piece? What role should the accent stones play? Which aspects of the metal's texture or finish should remain visible? These questions help define fixture positions and coverage, and provide a reference when the merchandise changes.
2. Compare Light Source Color and Merchandise Color Separately
The U.S. Department of Energy's LED basics distinguish the color appearance of the light itself from its effect on the color appearance of objects. Color temperature and color rendering information describe different aspects of a source. Identify the source configuration in each candidate proposal and compare it with actual jewelry.
Ask the supplier to relate color temperature, relevant color rendering information and any available spectral data to the specific light source configuration proposed for the fixture. This information helps the team understand the candidates. The merchandise's appearance in the finished case also needs review with the glass, supports, background and surrounding lighting in place.
When comparing two sources, retain the same jewelry, orientation, fixture position and viewing position where possible. If the candidate fixtures also differ in light distribution or mounting position, record those differences. Changing source color and lighting direction together makes it harder to identify which adjustment affected the view.
For a mixed-color display, review the complete group before inspecting individual pieces. After a candidate configuration is accepted for the featured item, continue checking neighboring lighter and darker center stones, accent stones and metalwork against their display requirements.
3. Look Beyond Bright Points to Color and Facet Patterns
GIA's discussion of colored stone darkness and brightness considers color saturation, white light reflections and the light-and-dark patterns associated with facets together. Applied to a display review, this supports recording color and reflections separately, then assessing how they contribute to the presentation of the jewelry.
For example, when a ring with a colored center stone shows a prominent bright point, check whether enough visible color remains elsewhere for customers to recognize it. Also examine the pattern across the facets. If a bright patch occupies much of the center stone, record its location before comparing a different fixture position or product tilt. If an area appears dark, observe how it changes as the viewer moves.
Review the metal setting at the same time. A polished bezel or prong may become a bright point in the scene. Check whether it obscures the stone's edge, affects recognition of fine details or presents the intended metal finish. Before adding supplementary illumination, identify the particular color area, facet or setting detail that needs attention.
| Viewing Task | What to Examine in the Mockup | Conditions to Compare |
|---|---|---|
| Center stone color | Whether recognizable color areas are visible from the main viewing position, and whether the mixed-color group meets the display requirements | Candidate source configurations, background and surrounding lighting |
| Facet appearance | The distribution of bright and dark areas, and how the pattern changes as the viewer moves | Lighting direction, jewelry orientation and viewing position |
| Setting details | Visibility of prongs, bezels, accent stones and the shank, and whether metal highlights occupy the area used to view the center stone | Local coverage, product tilt and permitted supplementary illumination |
| Interference in the glass | Whether a source reflection or bright line crosses the main jewelry | The relationship between fixture positions, glass and customer sightlines |
Identify source reflections in the glass separately from reflections on the jewelry. See the glass display lighting reflection guide for the detailed approach. Recording the source of interference makes it easier to discuss the corresponding fixture position, coverage or shielding conditions.
4. Separate Viewing-Angle Changes from Light-Source Changes
Keep the source configuration unchanged while the observer moves along the counter, or change the jewelry's orientation within the display requirements. Then restore the original position before comparing another candidate source. Record these two types of observation separately to describe the jewelry's appearance under each condition.
GIA's introduction to pleochroism explains that some doubly refractive gemstones show color variation with viewing direction, and that the effect can be visible in faceted gems. This concerns particular optical properties; it does not explain every change seen from a different angle. Discuss observed differences alongside the merchandise information supplied by the jeweler.
On-site notes can describe what is visible from the front and side with the source unchanged, then identify which areas change when a different source is used from the same viewing position. Returning to the recorded positions helps the team distinguish a color difference, a moving bright point and a glass reflection entering the view.
If a piece meets the display requirements only from a narrow viewing position, continue checking the customer's route as they approach, pause and look closely. Confirm the featured position against that route. Whether a fixture can be adjusted, and its available adjustment range, depends on the specific model and cabinet installation conditions.
5. Review the Complete Row and Jewelry Taken out of the Case
Place the intended supports, labels, background materials and glass in the mockup, then reproduce the expected surrounding store lighting. Review the group colors and display priorities from the usual distance before moving closer to inspect center stones, accent stones and setting details. Include seated sightlines where these form part of the project.
Where consultation or try-on takes place outside the case, put representative jewelry on the intended tray and in the planned location, and record the lighting conditions. Confirm the viewing tasks for the case and consultation position together, including any appearance differences that need to be explained.
After the comparison, retain the jewelry identification, display orientation, supports and background, fixture and source configuration, optical options, fixture positions and viewing positions. If the controls allow adjustment, record the settings used. For subsequent deliveries or reorders, see retail lighting color consistency records to connect the accepted sample with later configurations.
Photographs can help document color areas, bright points and detail locations. Keep camera angles, exposure and white balance settings comparable when comparing photographs, and record the actual observation conditions at the on-site review. Describing a specific area on the front of the center stone, a particular prong or a bright line on the glass gives the team a useful reference for later adjustments.
To discuss colored gemstone display lighting with SEEPOSH, prepare a cabinet section, the proposed jewelry, support and background samples, and the main sightlines inside the case and at the consultation position. Share these through the project contact page to discuss suitable source and lighting configurations around color, facet and setting tasks.
FAQ
Does warm white light suit every colored gemstone?
Compare candidate light colors with the actual jewelry, metal finishes, background and store lighting. Place representative merchandise in different colors and tones in the same display group. Review color, facet appearance and setting details before confirming the source configuration.
Can high color rendering metrics replace a comparison with actual jewelry?
Color rendering information helps compare sources. The actual merchandise also brings its cut, setting, orientation and viewing conditions. Include these in the mockup to confirm how the selected configuration addresses the viewing tasks discussed here.
Do more bright points always improve a colored center stone's presentation?
Review bright points alongside visible color areas, facet patterns and the overall form. Define what the display should present, then check whether highlights occupy areas where customers need to recognize color or details.
Can one lighting configuration serve gemstones in several colors?
Start by comparing candidate configurations with a representative group covering the intended merchandise. If one piece remains difficult to view, discuss its orientation, position, local coverage or permitted lighting groups. Confirm the final combination against the specific display and equipment conditions.


