

A light guide plate can look perfectly even when switched on at a workbench. Once it is installed in a display case, the area near the frame looks too bright, the middle of the shelf looks dim, or customers see individual LED dots from certain angles. In retail displays, these details pull attention away from the products.
Bright edges, dark zones and visible LED dots (often called hotspots) are not the same problem. They can come from the position and spacing of the LEDs, the way light enters the panel, and the optical design of the light guide panel itself. They can also be introduced by diffusing materials, reflective materials or the mounting structure. To improve the result, first identify where the problem appears and under what viewing conditions it is visible, then check the design stage that matches.
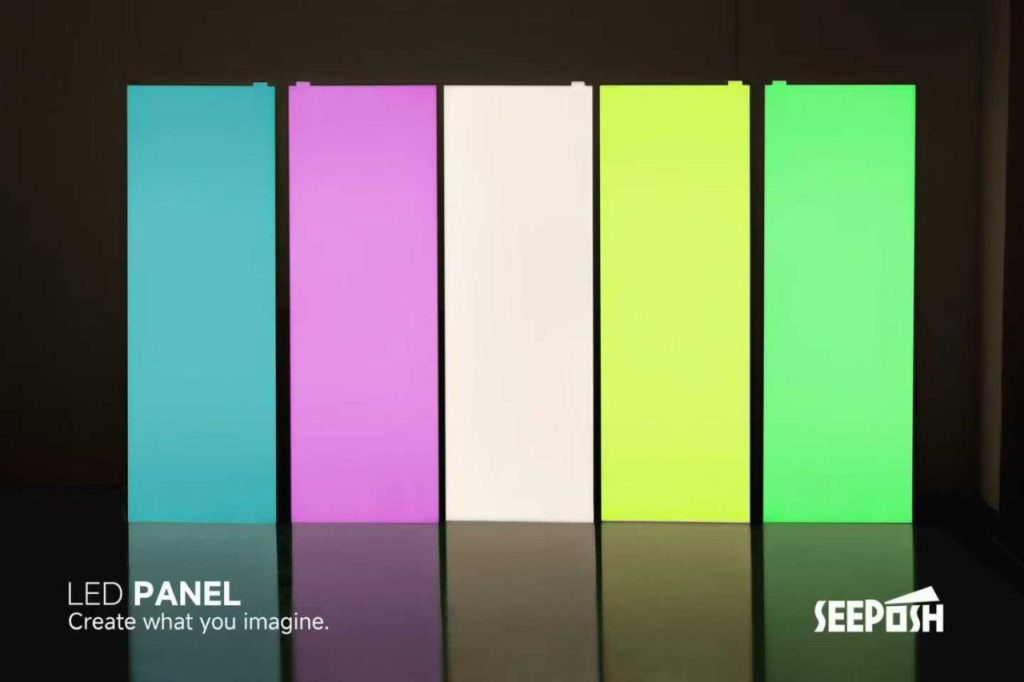
First, work out which phenomenon you are seeing
Bright edges usually appear near the light-entry side or along a visible edge: a distinct bright band that contrasts with the middle of the panel. It is worth distinguishing whether the glowing surface itself is brighter there, or whether the effect comes from light leaking at the edge or reflecting off a finish.
Dark zones may show up as a dim area far from the light-entry side, or as a localized shadow. The first calls for a look at how far light travels inside the panel and how it is extracted. The second also requires checking whether mounting parts, backing, films or surface contamination are interfering with the light path.
Visible LED dots appear as a row of bright points along the light-entry edge, or as alternating bright and dark spots that give a “bead-like” look. If the design intends a continuous surface of light, the dots stand out immediately. They relate to LED spacing, the mixing space, the structure of the light-entry edge and the diffuser layer.
This step matters. If the frame is simply reflecting light into the customer’s sightline, changing the light extraction pattern across the whole panel may not solve anything.
Why are bright edges or LED dots common on the side nearest the LEDs?
An edge-lit light guide panel has to let the LED light enter the material first, then release it gradually from the target emitting surface. If the light source sits too close to the visible emitting area, light from adjacent LEDs may not have mixed enough, so a bright band or a periodic pattern of dots can appear on the entry side. If the dot pattern does not match the way light enters, too much light can also escape early at the edge.
When designing, check the LED arrangement, the distance from the light source to the effective emitting area, how the entry edge is treated, the dot distribution, and whether the edge needs shielding or hiding inside the structure. There is no single “safe distance” that works for every size. A narrow frame, panel thickness, required brightness and visible-edge conditions all affect the trade-offs. Simply adding more LEDs can make the entry side brighter and is no substitute for a well-matched optical design overall.
What should you check when the middle or far end is dim?
After light enters from the edge, it is gradually extracted as visible light while it travels. On a longer emitting surface, if too much light leaves near the source, the far end may not receive enough. Extraction dots usually need to be designed around the entry position and the propagation distance. A large panel may also need its entry direction or zoning reconsidered.
A dark zone does not always mean the dot design is at fault, though. Wrinkled or shifted reflective layers, a faulty diffuser, local obstruction, scratched material or a change in assembly position can all leave shadows on a panel that was originally even. When troubleshooting, look at both the lit emitting surface and the structure and materials while unlit, paying particular attention to whether a dark zone lines up with a support, screw, seam or backing position.
Why does a sample look fine but turn uneven inside the display case?
What a light guide panel finally delivers is the effect of the whole display system. Glass, metal finishes, backing color, mounting frames, neighboring fixtures and customer sightlines can all change how bright and dark differences are perceived. An edge hidden when the sample lay flat may be exposed after installation. Conversely, a structural part may block an otherwise even emitting surface.
So sample as close to the final installation as you can. Specify which edges will show, how far the emitting surface sits from the glass or the products, from which direction customers will mainly view it, and how ambient light varies on site. For L-shaped corners or multi-panel assemblies, also check the visual continuity at the joints. If you are still fixing size, shape and mounting, you may want to read our custom light guide panel specification guide first.
How do you check and confirm the lighting result?
After a product is made, SEEPOSH first visually checks the overall lit appearance, then takes readings with a handheld spectrometer, which reports values such as correlated color temperature, illuminance and chromaticity coordinates. Visual inspection is good at finding bright edges, LED dots, localized shadows, color differences and assembly faults. Instrument readings add data on optical performance. They look at different things, so neither a single lit photograph nor a single measured number is enough to judge how a whole panel will perform in use.
If a project cares especially about uniformity, agree the following with the supplier at the sample stage: where the effective emitting area starts, whether edges or the areas around cutouts are included, the brightness setting and ambient light for viewing, the directions from which it is viewed, and whether measurement at multiple positions is needed. The measured items, positions and pass criteria should be set according to the actual instrument capability and the project’s requirements. That gives sample approval and later delivery the same basis.
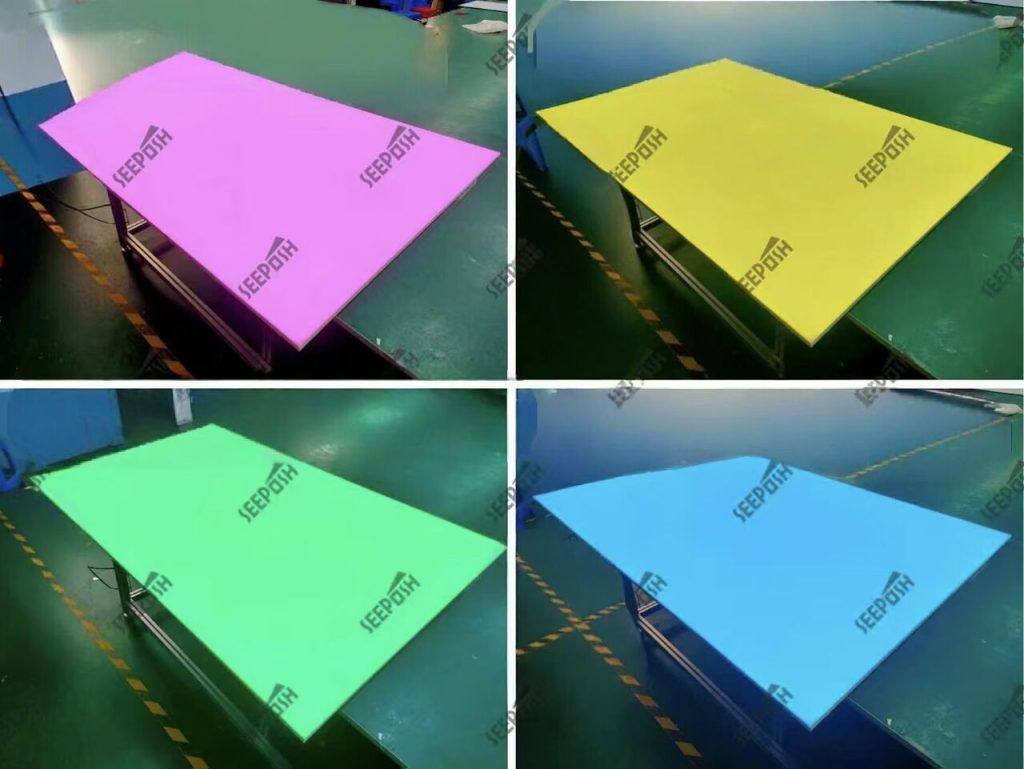
A photograph of the panel working normally can show what a product looks like, but a photo cannot by itself prove a uniformity value. Camera exposure, white balance, shooting angle and ambient light all change the apparent balance of bright and dark areas. If a customer needs quantified requirements, rely on on-site observation and measurement records made under agreed conditions.
What information helps most when reporting a problem to your supplier?
Rather than saying only “this panel isn’t even enough,” mark where the visible problem occurs and provide the following:
| Information | What it is used for |
| Photos of the whole panel lit, plus close-ups | Distinguish bright edges, dark zones, LED dots or seam problems |
| Panel size, effective emitting area and light-entry edge position | Relate the problem to propagation distance and edge structure |
| Case section, finishes and mounting method | Check for obstruction, reflection and visible edges |
| Shooting and viewing conditions | Judge whether different photos can be compared |
| Desired visual result and acceptance requirements | Decide which areas need the most attention |
Uniform light from a light guide panel comes from the combination of light source, light guide design, materials and installation conditions. If you are evaluating a custom solution for a retail display case, illuminated shelf or display backdrop, you can learn about SEEPOSH’s customization process, or send drawings and lighting requirements through the contact page to discuss sampling and inspection methods.
Frequently asked questions
If LED dots are visible, will adding a diffuser layer fix it?
A diffusing material may reduce how visible the dots are, but it can also change brightness and appearance. Check the LED spacing, mixing space and entry-edge structure at the same time, then decide whether the diffuser needs adjusting.
Will a large light guide panel always have dark zones?
Not necessarily. As size increases, propagation distance and light-entry method deserve more attention, but the final result still depends on the specific optical and structural design. Confirm it with a representative sample and agreed viewing conditions, rather than judging by size alone.
Can a phone photo of the lit panel be used for acceptance?
Photos are useful for recording obvious problems and pointing to locations, but exposure and white balance can exaggerate or hide differences. For projects with high requirements, combine visual inspection of the physical panel with instrument measurement under agreed conditions.


