

Watch display lighting needs to work with the way each watch is presented. A light can reveal the case finish while its reflection covers a hand, date window or part of the dial. Changing the stand tilt can improve one customer’s view and introduce an obstruction from another position.
For designers and visual merchandising teams, the useful starting point is the watch, its support and the viewing route. Review those together with the proposed lighting and the finished showcase glass. The sample should establish which product details remain visible from the positions customers actually use.
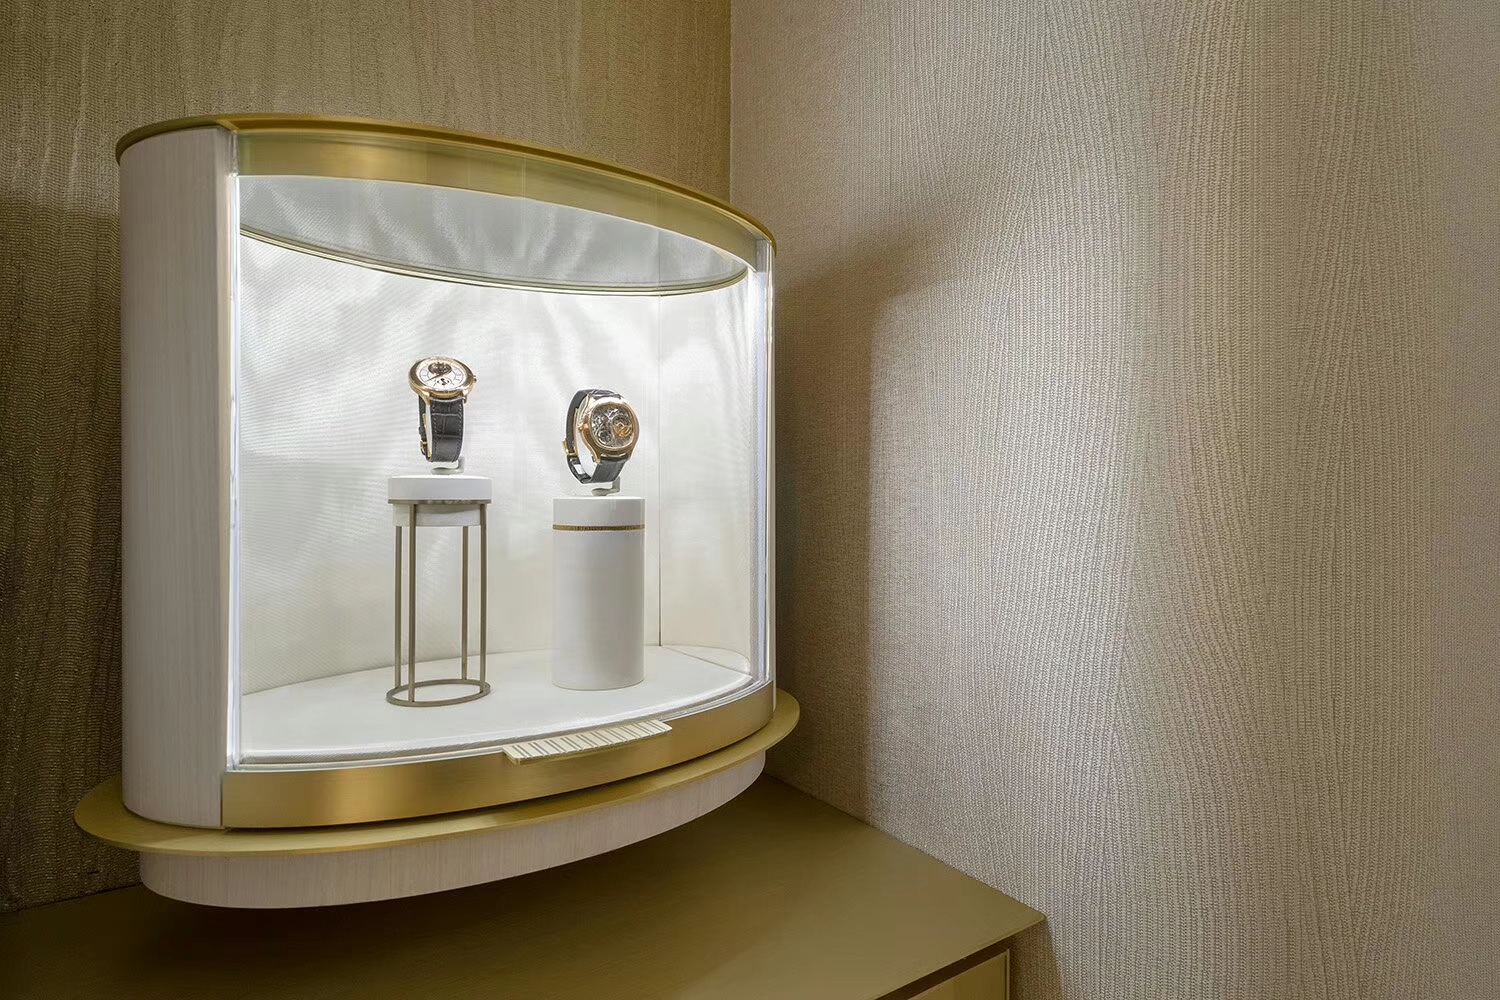
1. Identify the Details Customers Need to See
List the viewing tasks for the watches in the display. Include the dial, hands and hour markers, then add model-specific details such as a date window, subdials or an open-worked movement. Record which details the display needs to emphasize.
Review the case, bezel and bracelet separately from the dial. A highlight can help describe a polished edge while interfering with small dial information. Look at the complete watch so an adjustment that improves readability can also be checked for its effect on the surrounding finish.
Use representative watches and their proposed supports to agree the review points:
| Area | Detail to examine | Question for the sample review |
|---|---|---|
| Dial and hands | Hands, markers and their contrast with the dial | Can customers distinguish the intended details from the main viewing position? |
| Small information | Date window, subdials and text where present | Does a reflection cover information the display needs to show? |
| Crystal | Bright images or patches over the dial | Which light or surrounding bright surface contributes to the interference? |
| Case and bezel | Edges, surface texture and polished areas | Does the lighting describe the finish while keeping dial information visible? |
| Bracelet or strap | Shape, texture and connection to the case | Do the stand and nearby products obscure the intended view? |
Keep these points in the display brief. A clear record lets the lighting supplier and merchandising team assess the same details when comparing stand and fixture positions.
2. Set the Stand Around the Customer’s Viewing Positions
Mark the main stopping point, the approach along the counter and any close-view position used when discussing a watch with staff. Include a seated view where the store arrangement calls for one. Record the stand’s height, tilt, rotation and position within the case.
OpenStax’s explanation of reflection describes how a smooth surface reflects light in directions determined by the incoming light and the surface orientation. This helps explain why the source, watch angle and viewer need to be considered together. The actual crystal and watch surfaces still need review in the sample.
Compare the permitted stand orientations while keeping the watch and lighting arrangement recorded. Check whether the dial is comfortably visible at the main stopping point, then review the approach and side views. Changing tilt also changes how much of the case, bracelet and stand the customer sees.
Confirm the support arrangement with the merchandising or product team. It needs to hold the watch in the approved position and accommodate the intended handling method. Keep the accepted stand setting identifiable so the same presentation can be restored after the watch is removed.
Review the source, stand and viewing positions as one sample arrangement.
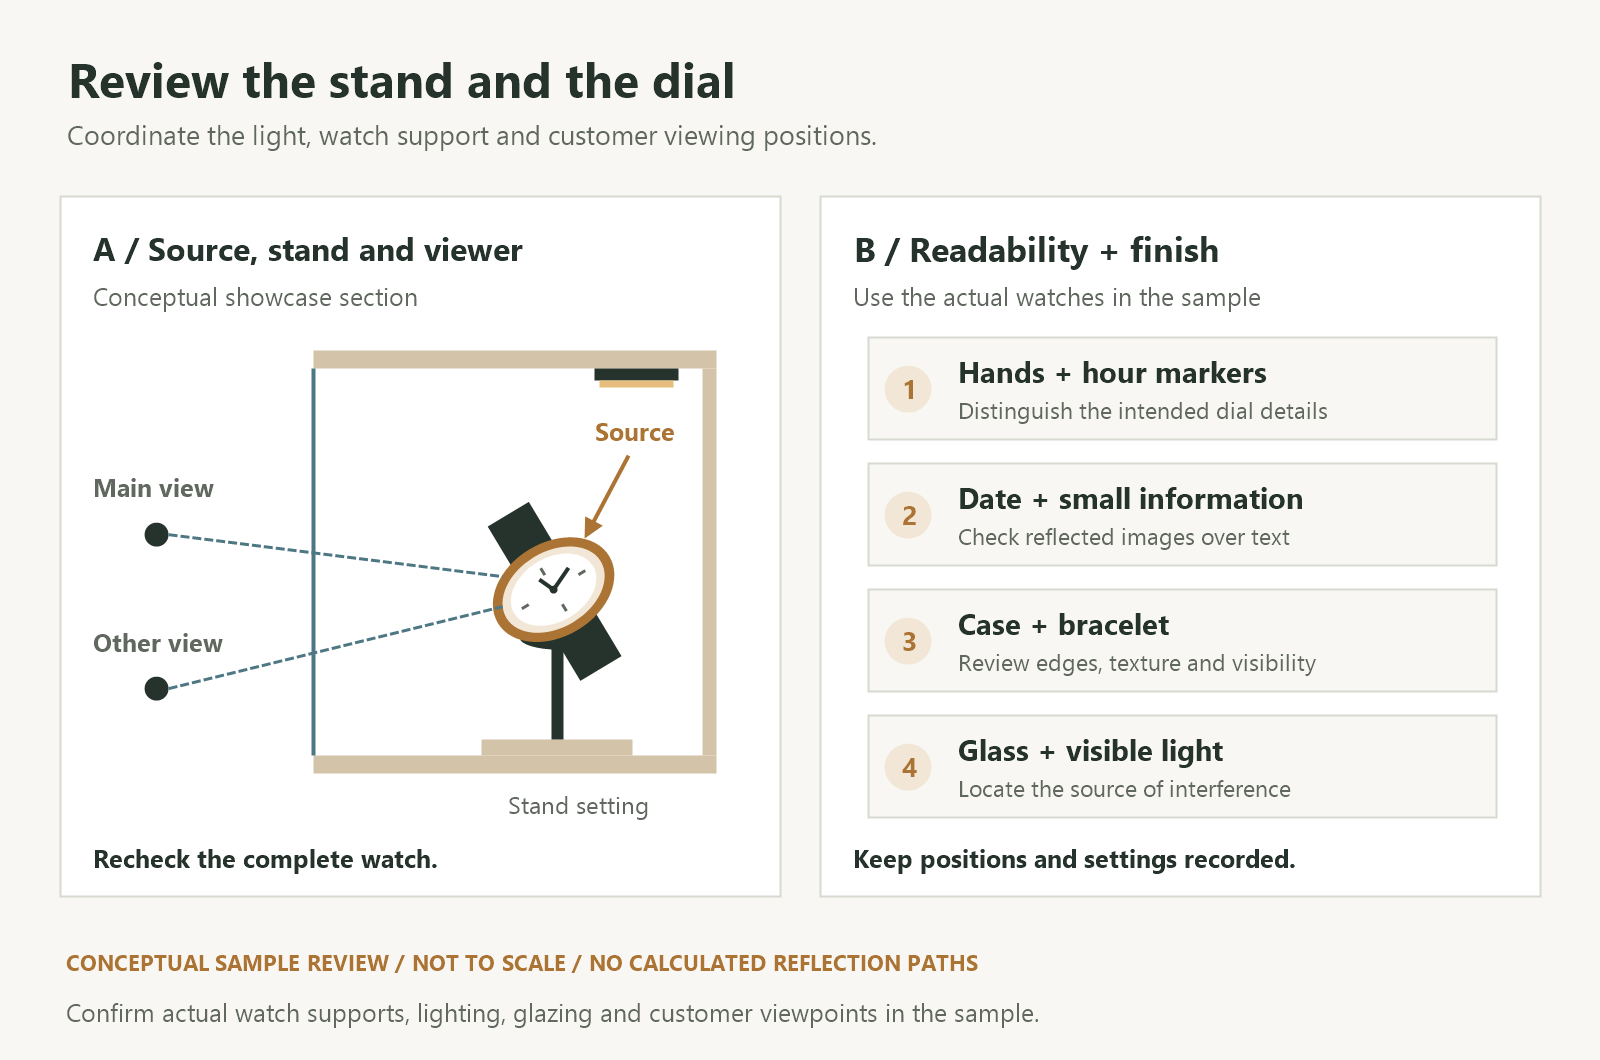
3. Locate the Interference Before Changing the Lighting
Look separately for a reflection on the watch crystal, an image in the showcase glass and a directly visible light source. These effects can overlap, and each calls for a different adjustment.
Keep the watch and viewing position fixed while comparing the relevant lighting groups under the agreed sample conditions. Observe whether changing an internal accent light, a linear light or the surrounding lighting alters the interference. Restore the intended store lighting afterward to assess the combined display.
Record the location and viewing position of the issue. For example, a bright line crossing the date window from the front view is a more useful description than a general request to reduce glare. Mark whether the interference appears on the watch or in the case glass, and identify the likely contributing source for review.
Our glass display lighting reflections guide provides the wider checks for glazing and surrounding bright surfaces. Here, keep the observations tied to the particular watch, stand setting and dial details.
4. Compare Light Position and Aiming with Dial Readability
Once the likely source is identified, compare the positioning and aiming adjustments that the selected fixture and cabinet structure permit. Keep a record of the starting arrangement and change one condition at a time so the review team can follow the effect.
Recheck the complete watch after each adjustment. Moving an interfering highlight away from the dial may also change the appearance of a polished case edge or leave part of the bracelet less visible. Judge the result against the agreed viewing tasks and the intended display emphasis.
Review coverage when the stand height or fixture position changes. The light needs to reach the intended watch details in the revised arrangement. Our beam angle and mounting distance guide discusses this coordination in more detail; the actual aiming direction and merchandise arrangement belong in the sample check.
Where the fixture offers shielding or alternative optics, ask the supplier which options are available for the selected model and mounting position. Include the proposed option in the sample before approval. Keep access for any permitted adjustment and make sure the accepted position can be secured as intended.
5. Review the Range of Watches the Display Will Carry
Use watches that represent the planned assortment. Different dial finishes, crystal shapes, case surfaces and bracelet arrangements can change what is visible under the same lighting. A result approved for one watch should be compared with the other intended presentation types.
Record the actual crystal and coating information available from the watch supplier. Edmund Optics’ technical explanation of anti-reflection coatings describes how coating performance relates to its optical design conditions. Use the actual watch in the display review; an anti-reflective description by itself does not establish the appearance from every customer position.
For a display with several watches, check the central presentation and positions near the case edges. Compare the dial views, stand orientations and relationship between neighboring products. A watch or prop can also obscure part of another piece as the customer moves along the counter.
If dimming is included, review the required operating scenes with the proposed equipment. Lowering output changes the display’s brightness relationship and should be checked for dial visibility and material appearance. The dimmable showcase lighting checklist covers the equipment combination and operating states to confirm.
Use the final glass and representative surrounding lighting for the approval review. Photographs can document the watch and setup, while the agreed viewing positions remain necessary for assessing the customer’s view.
6. Keep a Record of the Approved Presentation
Prepare a short arrangement record for installation and future merchandising changes. Include:
- Watch selection: Models or presentation types used in the review, with the relevant crystal and finish information.
- Stand arrangement: Support type, location, height, tilt and rotation settings, with reference photographs where useful.
- Lighting configuration: Fixture models, mounting positions, aiming and optics or shielding options actually reviewed.
- Operating conditions: Control settings, showcase glass and the surrounding lighting used for approval.
- Viewing points: Main stopping, approach and any side or seated positions, with the details checked at each.
- Change procedure: How staff restore the approved layout, which adjustments are permitted and who reviews a new arrangement.
Review a changed stand, a new watch type or a revised lighting position against this record. Where the project has measured performance requirements, retain the agreed measurement points, conditions and results with the corresponding arrangement.
For a SEEPOSH watch display lighting enquiry, share the showcase drawings, stand details and representative watches, together with the main customer viewing positions and the dial information you need to show. The custom retail lighting RFQ checklist provides the broader information for quotation and sample approval.
7. Frequently Asked Questions About Watch Display Lighting
Is there one stand angle that works for every watch?
Compare the permitted orientations with the actual watches and viewing positions. Stand height, crystal shape, dial finish and light position affect the result. Record the arrangement approved for the intended watch types rather than applying one tilt to every presentation.
Does an anti-reflective crystal remove the need for a lighting review?
Review the actual watch, its coating information and the complete display. Check the dial from the agreed customer positions, along with reflections in the showcase glass and direct visibility of light sources. Keep the accepted result tied to that setup.
Should the light be dimmed when a reflection covers the dial?
Identify the contributing source and compare the permitted position, aiming and control adjustments. If dimming is considered, check both dial readability and the rest of the watch at the required operating settings. Record the change so its effect can be assessed in the full display.
What needs checking when a different watch is placed on the stand?
Check its fit and approved support position, dial details, crystal reflections and case or bracelet view. Review the main and approach viewpoints under the intended lighting. Adjust only within the approved arrangement and request a new review when the presentation falls outside it.


